Control Micipsa





Overview#
Micipsa can be driven and directed in two ways: teleoperation, where an operator sends direct velocity commands using a keyboard and/or a remote joy, and goal-based navigation, where an operator sets a target pose and Nav2 plans and executes the motion autonomously.
Teleoperation#
Keyboard#
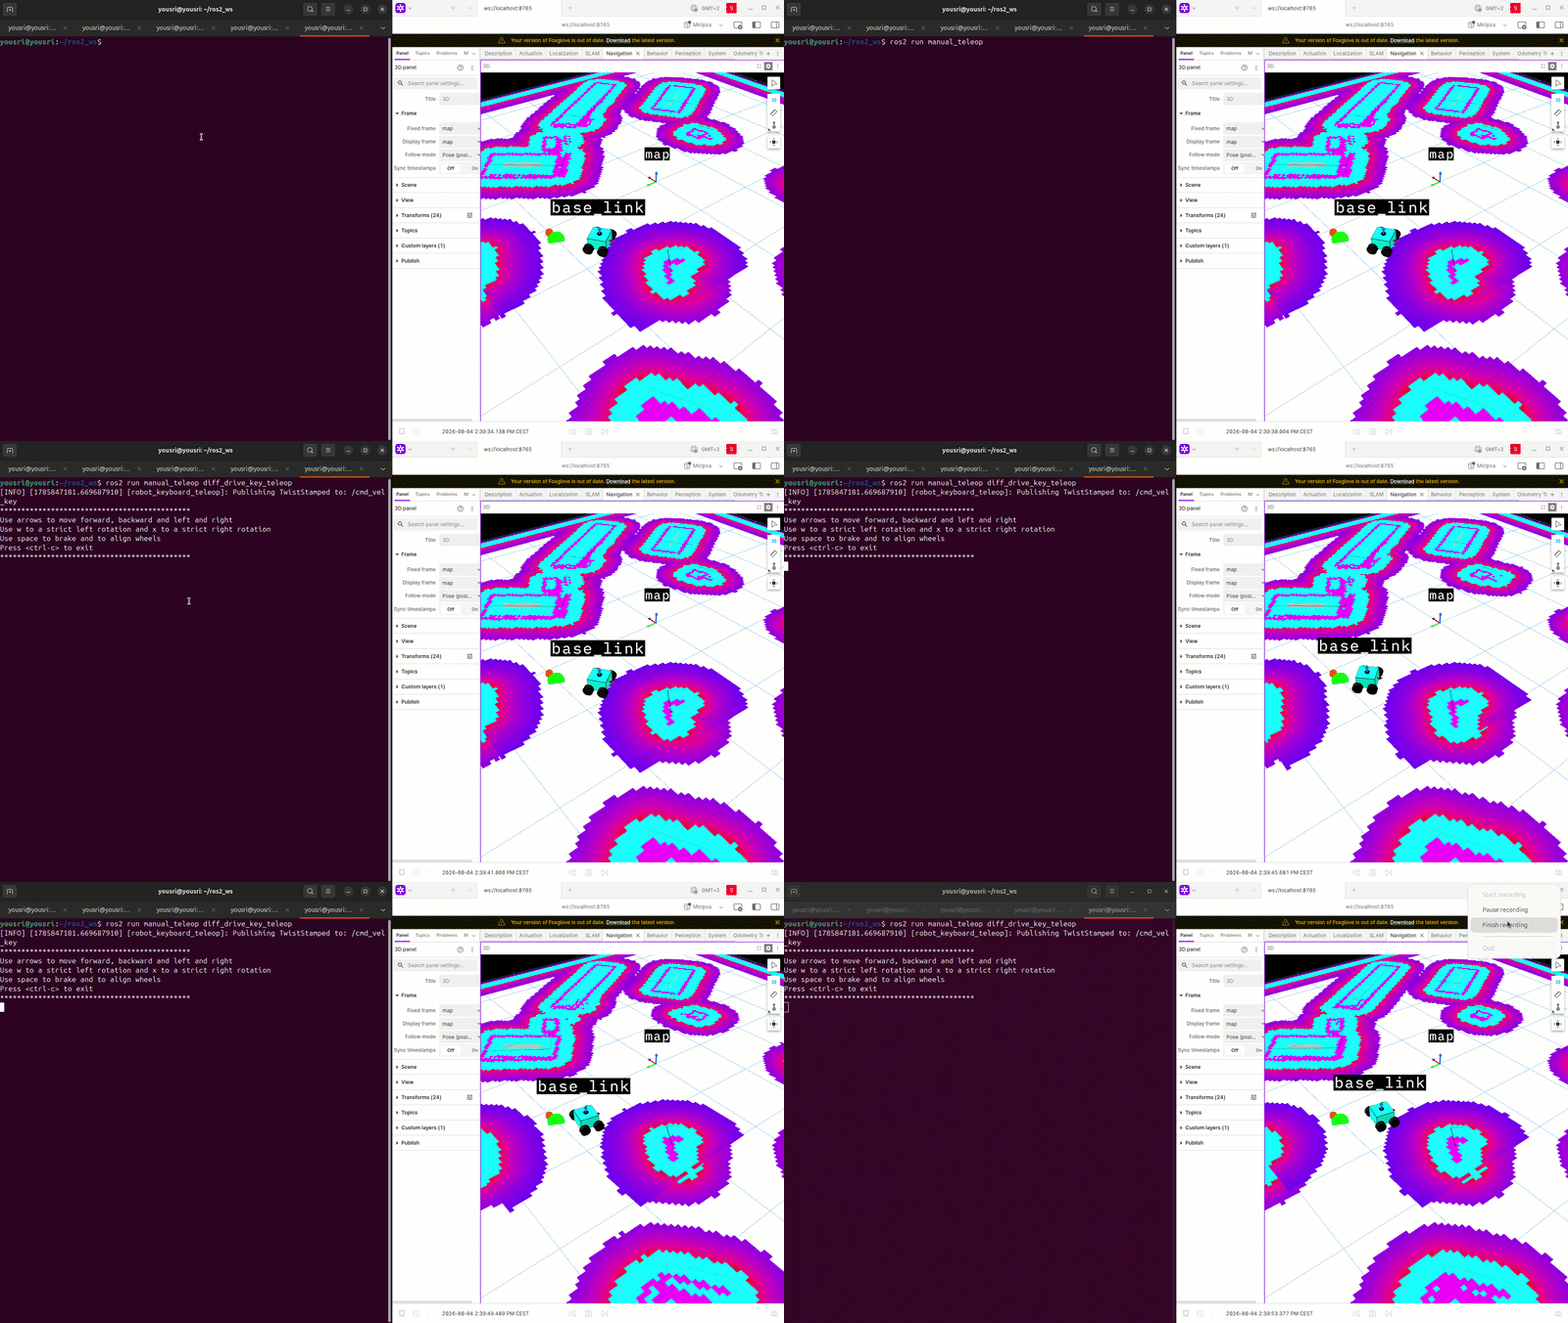
To use keyboard teleoperation, run:
Make sure to click on the terminal window running the keyboard teleoperation node before using the keyboard controls, otherwise the keystrokes will not be detected.
Remote Joy#
To use remote joy, run:
CLI#
You can also send velocity commands directly from the CLI:
ros2 topic pub --once /cmd_vel_key geometry_msgs/msg/TwistStamped \
"{twist: {linear: {x: 0.2}, angular: {z: 0.0}}}"
Goal Based Navigation#
Important
Goal-based navigation is only available when localization_mode:="localization" is enabled in the bringup configuration. This mode requires a previously created and saved map from a SLAM run.
For simulation, a default 3D world and map are provided for testing. Set localization_mode:="localization" in the bringup configuration file to enable autonomous navigation and send navigation goals.
For robot configuration, see the Micipsa Bringup Configuration guide.
Rviz2#
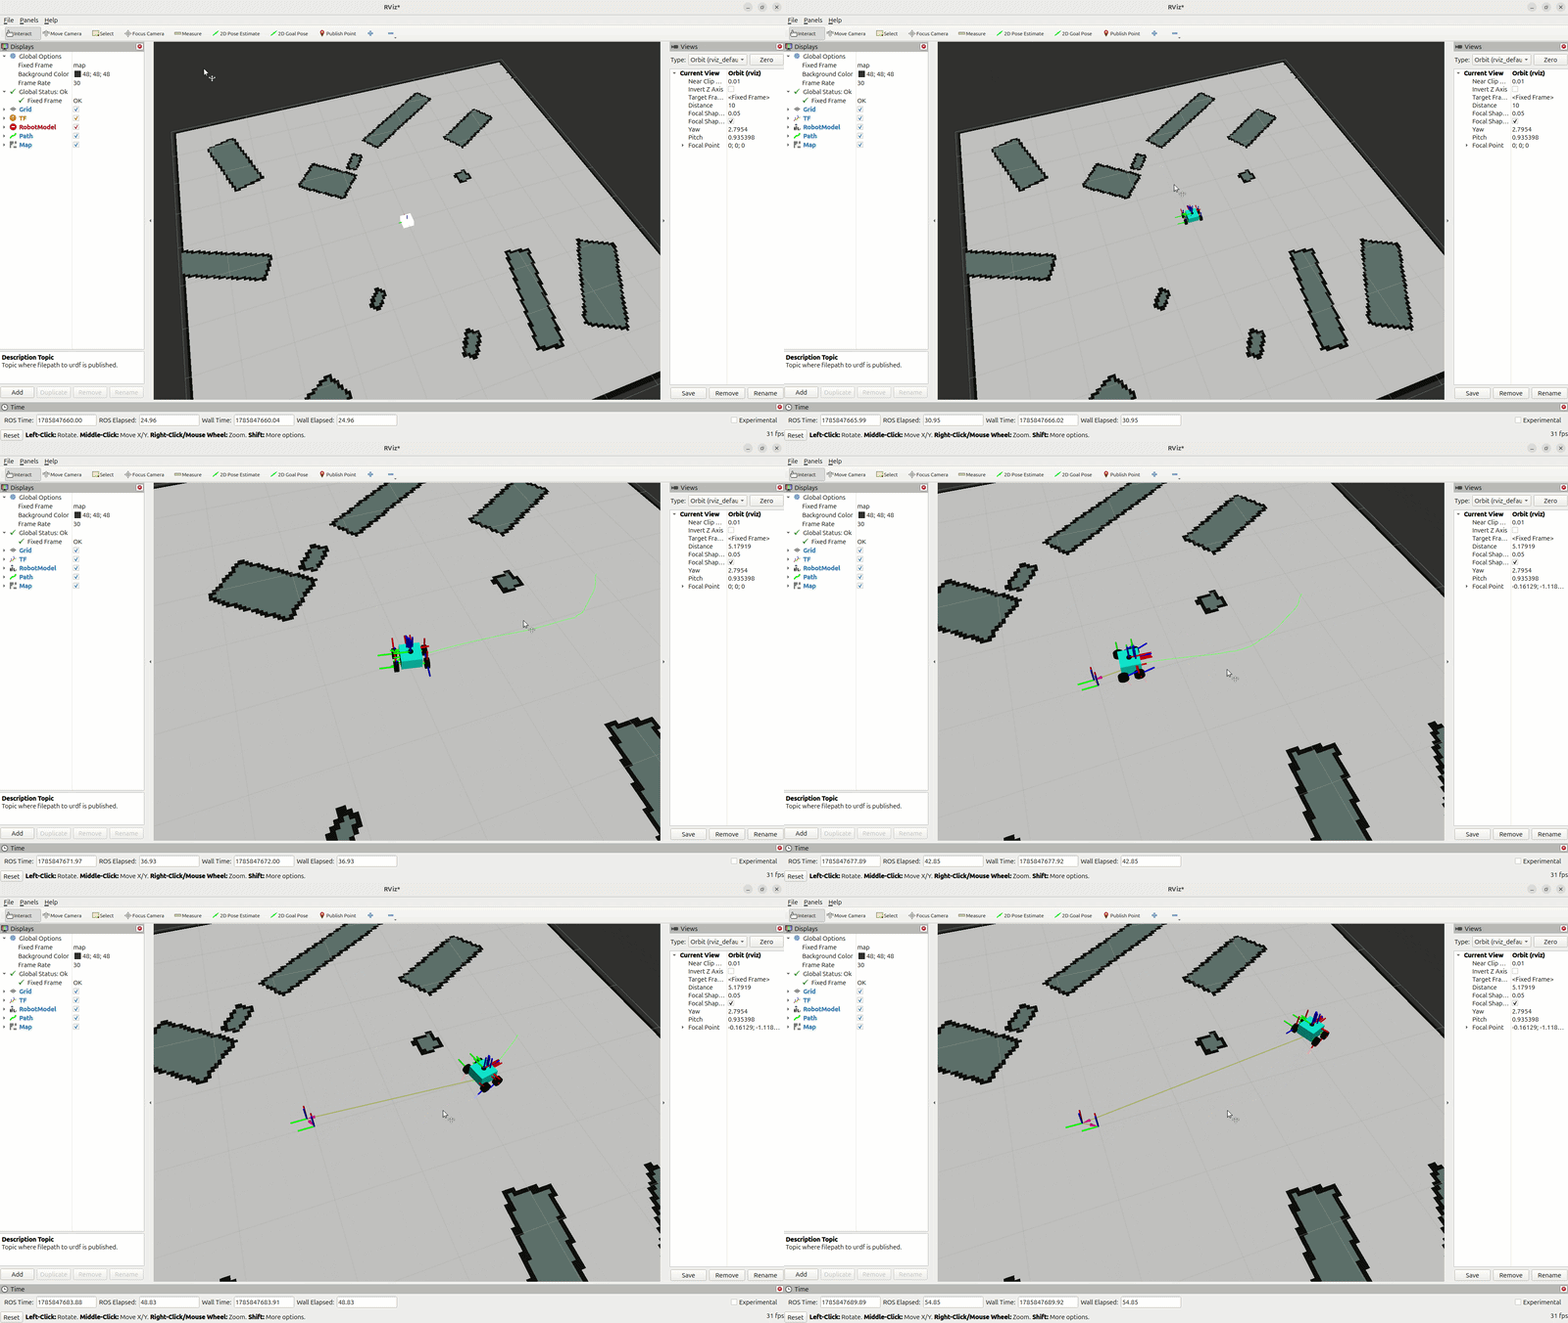
Before a navigation goal can be sent, Nav2's AMCL localization must be initialized with the robot's approximate starting pose. RViz2's 2D Pose Estimate tool, available from the toolbar, is used to set this, clicking a location on the map and dragging sets the robot's estimated position and heading. This step is required only once per session, or whenever localization has drifted or needs to be manually corrected.
Once localization is initialized, RViz2's Nav2 Goal Pose tool, available alongside it in the toolbar, publishes a single PoseStamped goal to Nav2's action interface. Clicking a location on the map and dragging sets both position and orientation, releasing sends the goal.
Foxglove Studio#
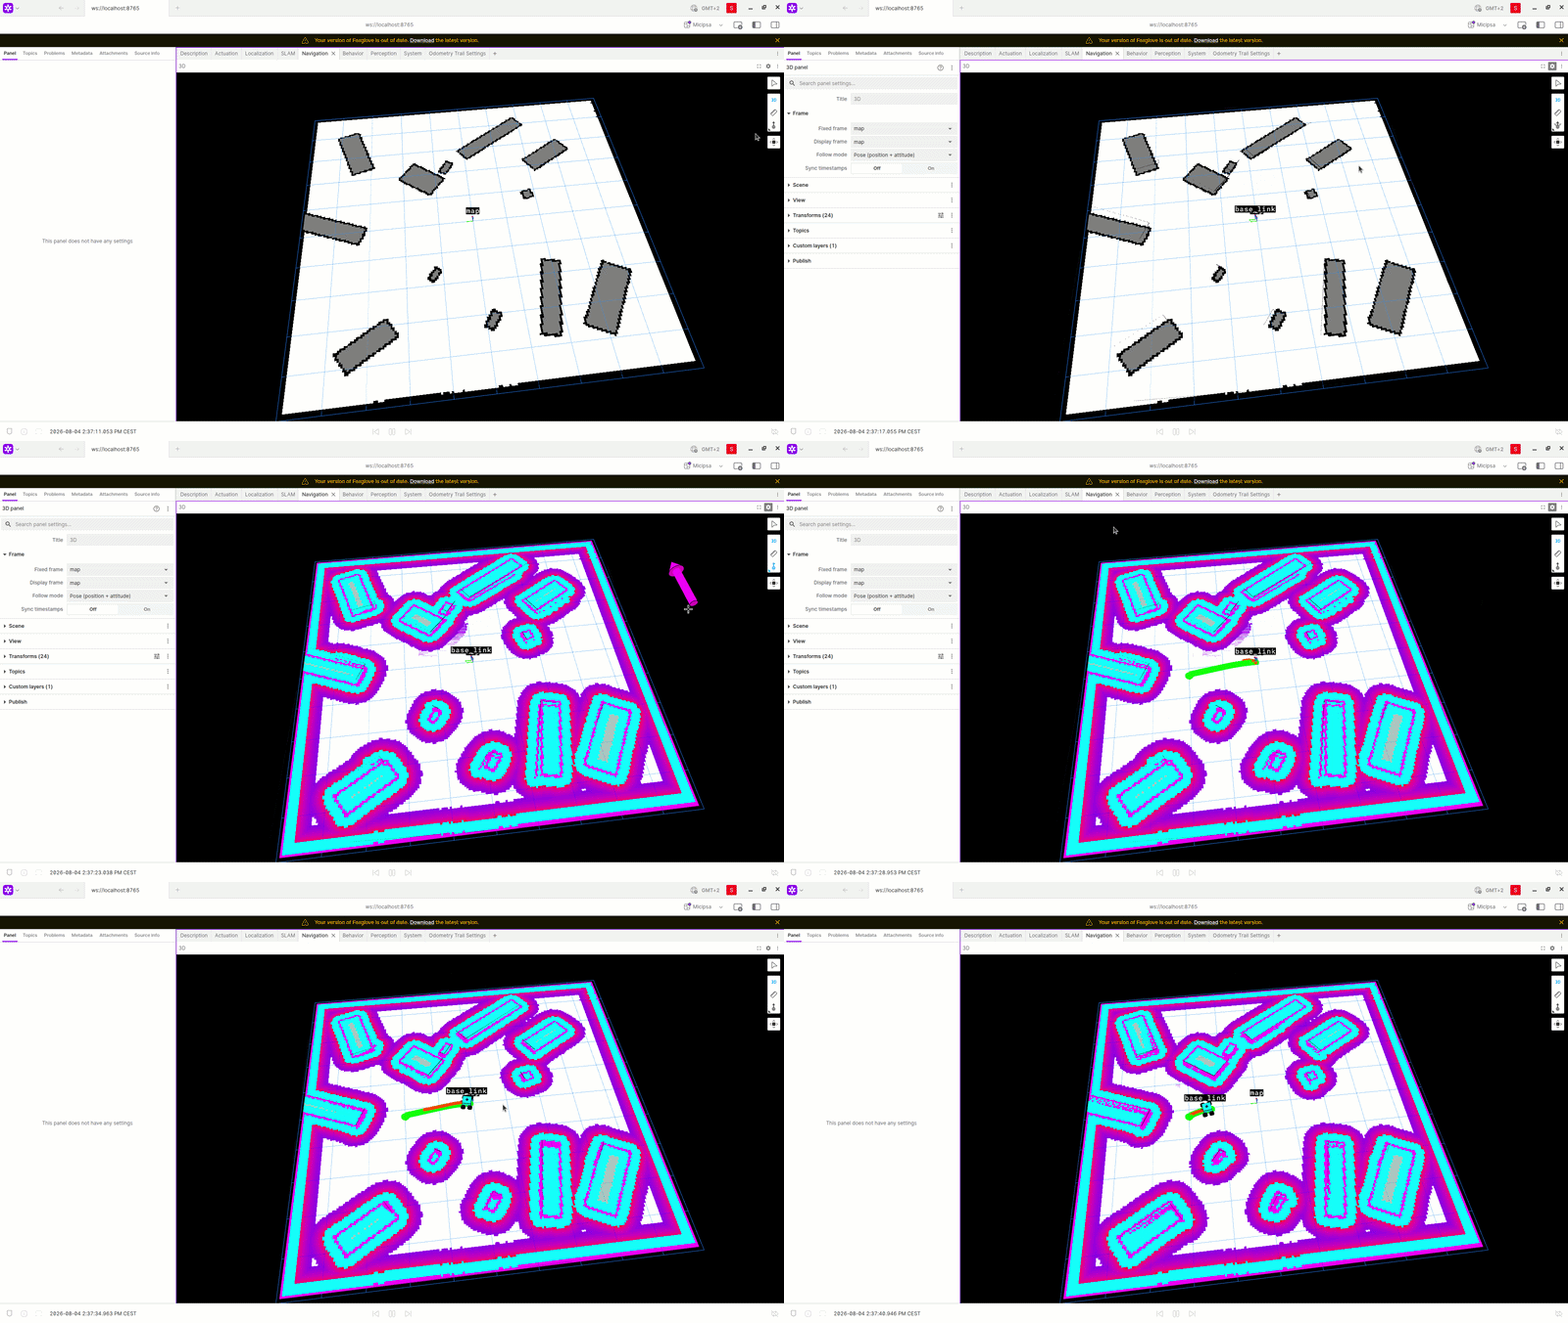
As in RViz2, AMCL localization must be initialized before a goal is sent.
To set a pose esimate or a goal pose you can use the right panel in the 3D visualization.
CLI#
First set the initial estimated pose:
ros2 topic pub --once /initialpose geometry_msgs/msg/PoseWithCovarianceStamped \
"{header: {frame_id: map}, pose: {pose: {position: {x: 0.0, y: 0.0, z: 0.0}, orientation: {z: 0.0, w: 1.0}}}}"
This sets the robot at (x = 0.0 m, y = 0.0 m, yaw = 0°)
Then set the goal:
ros2 topic pub --once /goal_pose geometry_msgs/msg/PoseStamped \
"{header: {frame_id: map}, pose: {position: {x: 2.0, y: 1.0, z: 0.0}, orientation: {z: 0.0, w: 1.0}}}"
This sends the robot to: (x = 2.0 m, y = 1.0 m, yaw = 0°)